Choosing An All Terrain Camper
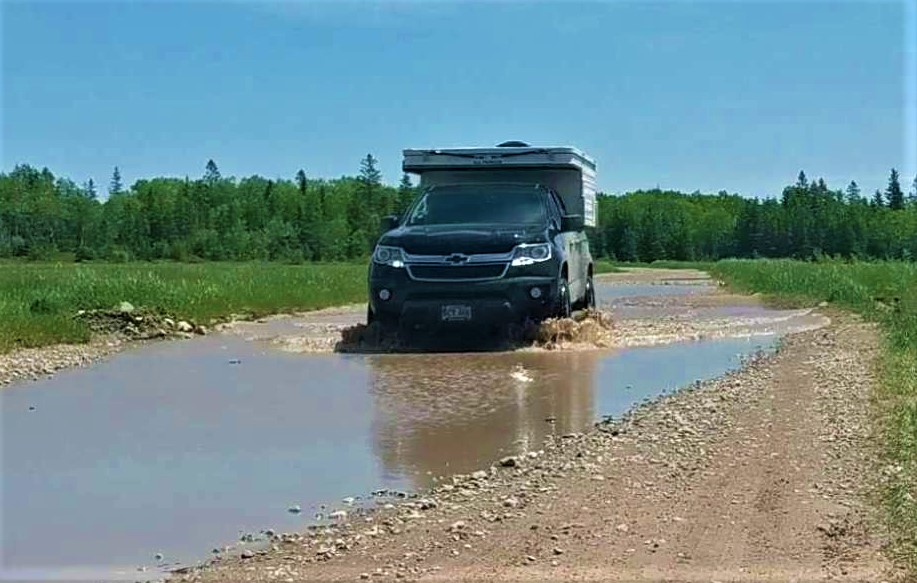
When we first started to consider how we wanted our all terrain overland setup to look, there were a few must-haves on our list. We wanted the camper to be lightweight, cost effective, and convenient, and the bobcat shell checked all three boxes. Most importantly, we had to have something that we were confident would stand up to whatever terrain we decided to take it on. We were anxious to be able to explore the roads less traveled, while at the same time have our sleeping arrangements spoken for without the hassle of a timely setup.
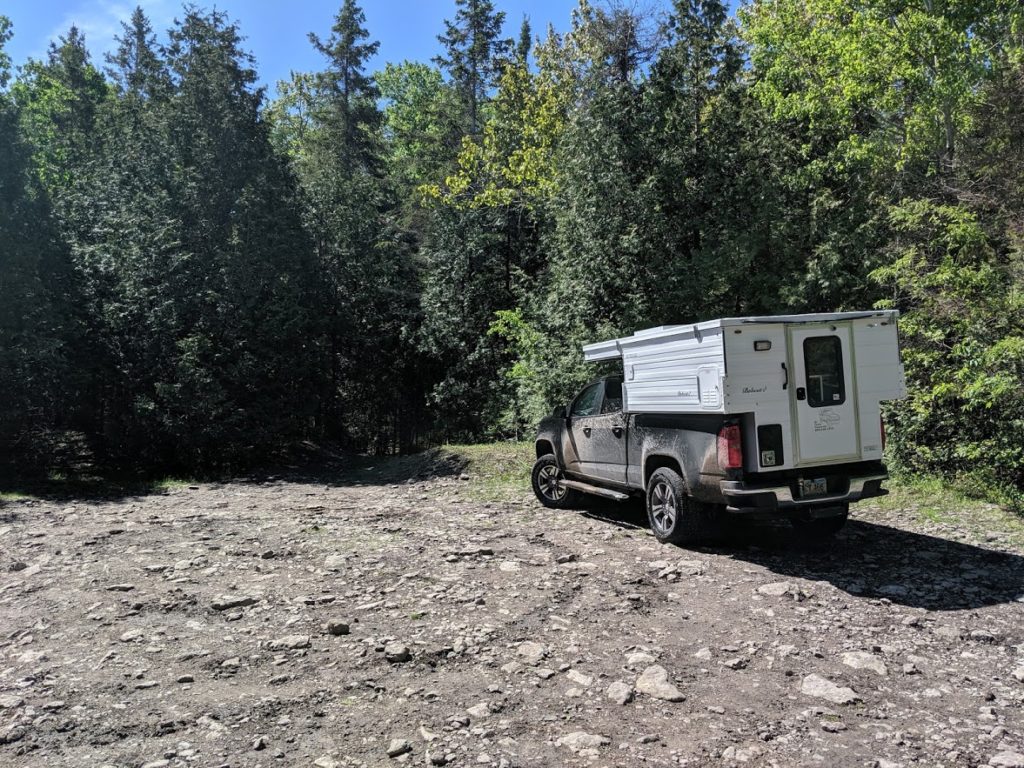
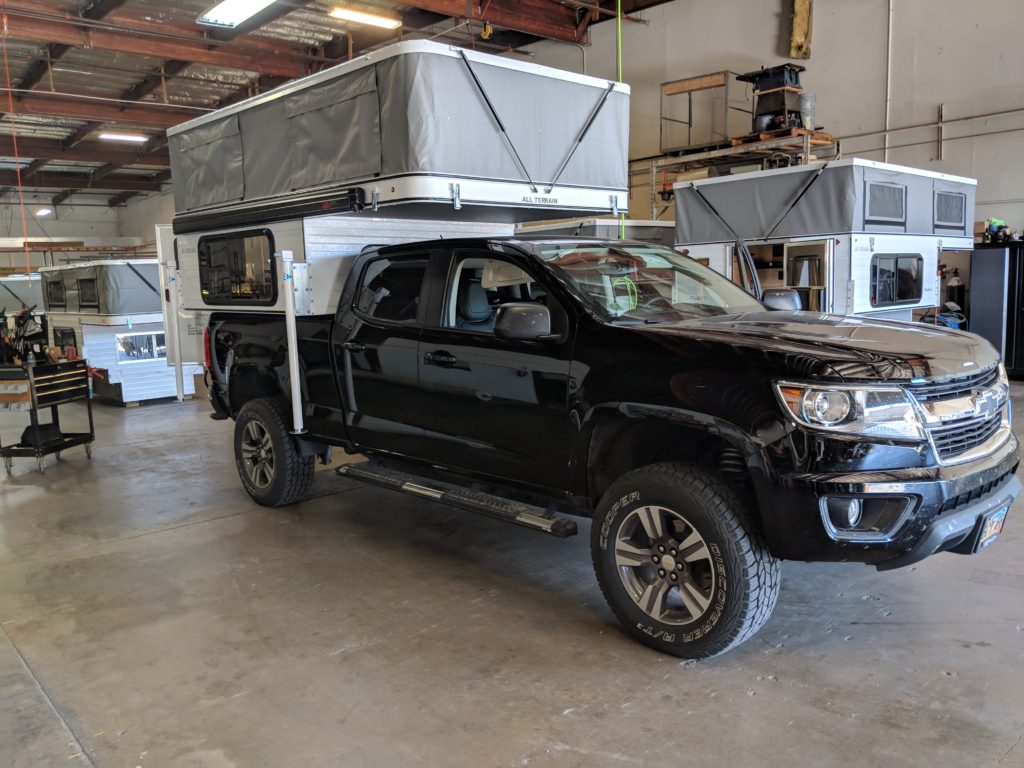
Ultimately, we decided on an all terrain bobcat shell truck camper, from All Terrain Campers based out of Sacramento, California. Once we settled on the ATC Bobcat Shell for our Chevy Colorado, we wanted to keep it pretty basic so that we could add our own customization’s down the road.
Truck Modifications
We made a few slight modifications to the truck help support the roughly 900 pound camper. This included Bilstein 5100 shocks all the way around, and add-a-leaf packs from Boise Spring Works. Outside of the awning, heater, air vents, and convertible couch the camper itself was a blank slate for us.
Heading to Sacramento
When we told our family and friends we were driving to Sacramento to pick up a bobcat shell camper we were met with speculation and confusion. They didn’t understand why we couldn’t just simply pick out a pop up camper here in South Dakota. Overlanding was a completely foreign concept to them. We didn’t let these comments discourage us, and knew that we had made the right choice. We didn’t want the limitations that come with traditional campers.


After we put in our request for them to build our camper to our specification, we patiently waited the 6 month lead time until we were able to pick it up. We started our drive to California, and for the most part it was uneventful. Our pit stop at the Bonneville Salt Flats was really the first taste of adventure we had off the interstate, and with it came the sense of longing to get to our destination so that our “real” journey could begin.

Bobcat Shell Install
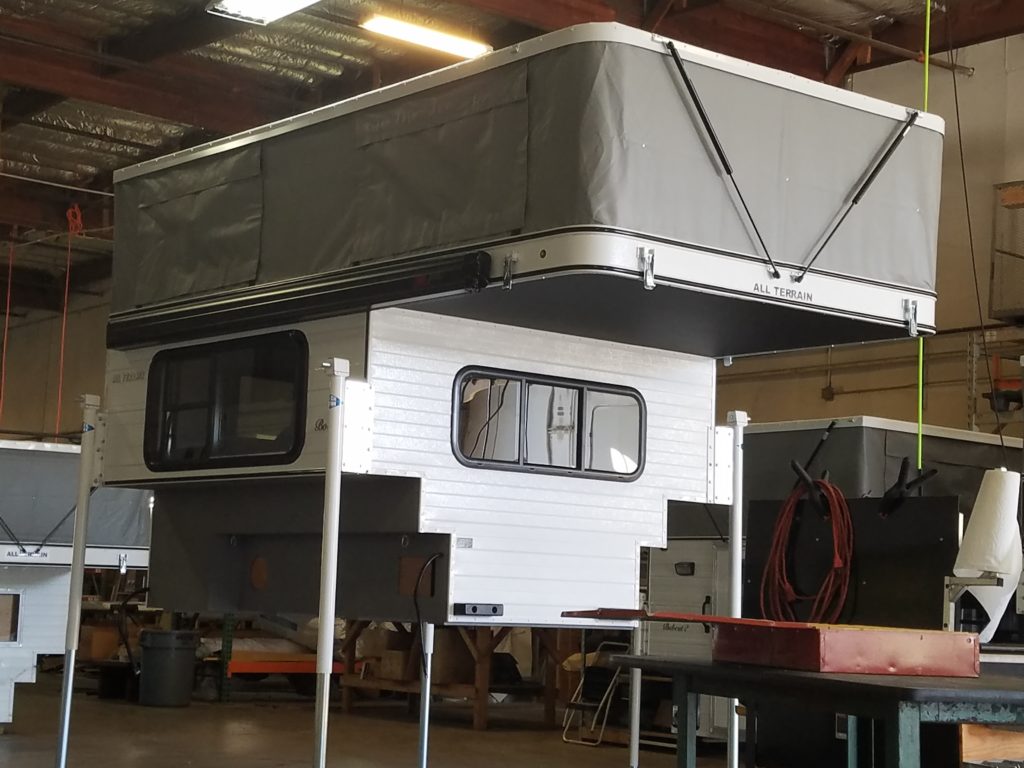
Soon enough, we arrived in Sacramento. After a nice dinner, we settled in to our hotel eager to wake up in the morning to finally see our camper. We arrived early in the morning, and after roughly 2 hours we had our camper outfitted on our truck and we were ready to go. It was an easy enough process.
The individual helping us walked us through all the important things we needed to know about the ATC Bobcat. He taught us how to properly open and close the camper. How to adjust the latches if needed. He showed us how the bed and the couch are made. He also showed us how the heater and the roof vent functioned. It all seemed overwhelming at first, but after a night in the camper, we realized it is all extremely simple.
Bobcat Shell Interior
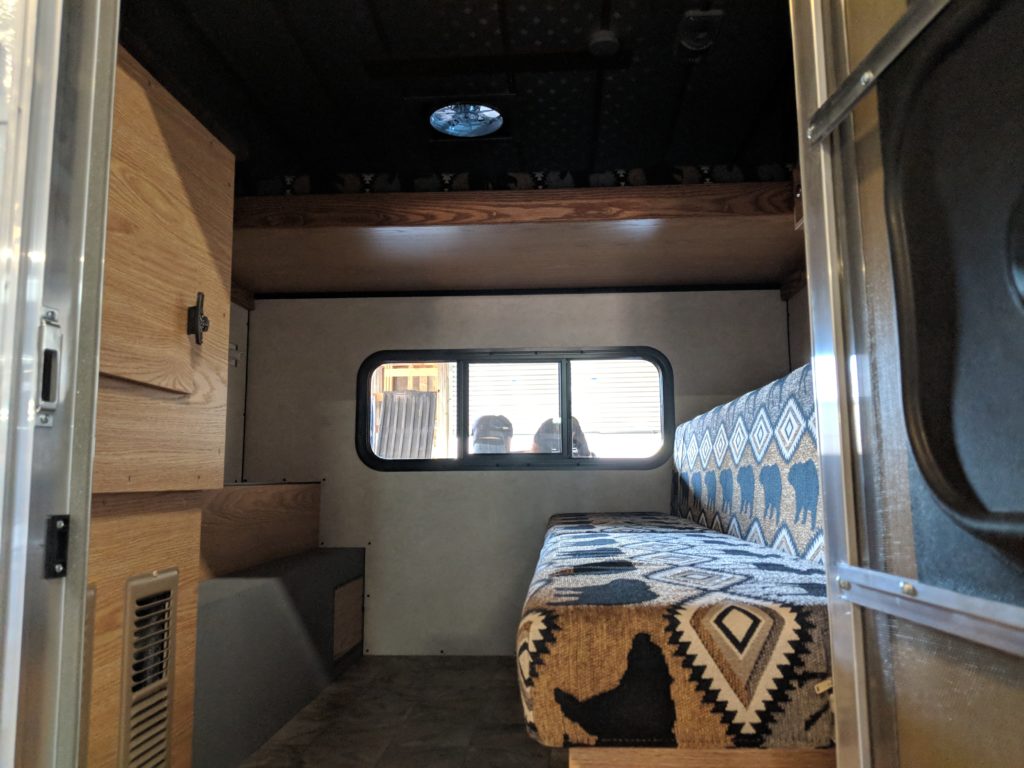
In the above picture you get a glimpse into what the Bobcat shell model is like. The top bed is pulled out and you can see that it overhangs the living space below by a few feet. This is by design and allows for a very large top bed with more than enough room for 2 people. When the bed is not pulled out it is flush with the front wall of the camper (where the window is in the picture) allowing plenty of room for activities below.
On the passenger side of the camper we purchased the couch option and we are glad we did. The couch spans the entire length of the passenger side of the camper. It also can be made into a bed comfortable for a person at least 6′ in height. When the couch is made into a bed, there is a few inches left between it and the cabinet on the drivers side to allow a person to slip out of the camper still. Underneath the couch is a large storage area. We keep a lot of our supplies underneath here. The cushions simply lift off to give access to this area. The battery inside the camper is also inside this space towards the front of the camper.
The drivers side of the camper is mostly open except for the cabinet in the rear. This is where the propane furnace is housed as well as the propane cylinder that is accessible from the exterior of the Bobcat Shell. The small door you see is where the fuse box for the electrical is accessed.
Away we go!
The bobcat shell camper was built perfectly to our specifications. We felt fully equipped, and ready to go. At this point we could not wait to leave, and start our journey North to continue exploring California.

See More of the Bobcat Shell
To see more about why we chose the ATC Bobcat Shell and the options we picked view the All Terrain Camper portion of the site. We included updates to solar, electrical, and much more to our ATC Bobcat.